
Harrop Pike - Lake District Walk
Thursday 20th June 2019
Today we managed to fit the walk inbetween two downpours. Putting the boots on and then taking them off either side of the walk saw us sitting out the downpours in the car. For once our timing was excellent.
Start: Sadgill (NY 4835 0569)
Route: Sadgill - Great Howe (413) - Grey Crag - Harrop Pike - Tarn Crag (414) - Brownhowe Bottom - Longsleddale - Sadgill
Distance: 6.5 miles Ascent: 547 metres Time Taken: 5 hrs 10 mins
Terrain: Clear paths with some boggy areas
Weather: Sunshine, showers with a cool breeze
Pub Visited: Sun Inn, Pooley Bridge Ale Drunk: Jennings Cumberland
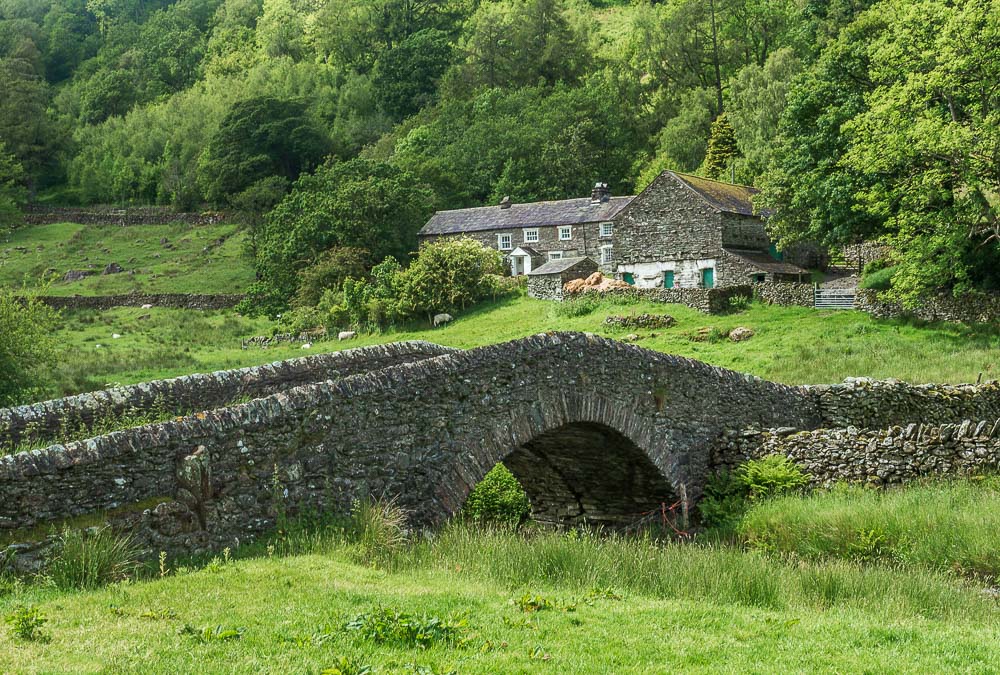
Looking across to Sadgill Farm before we cross the track and start the walk.
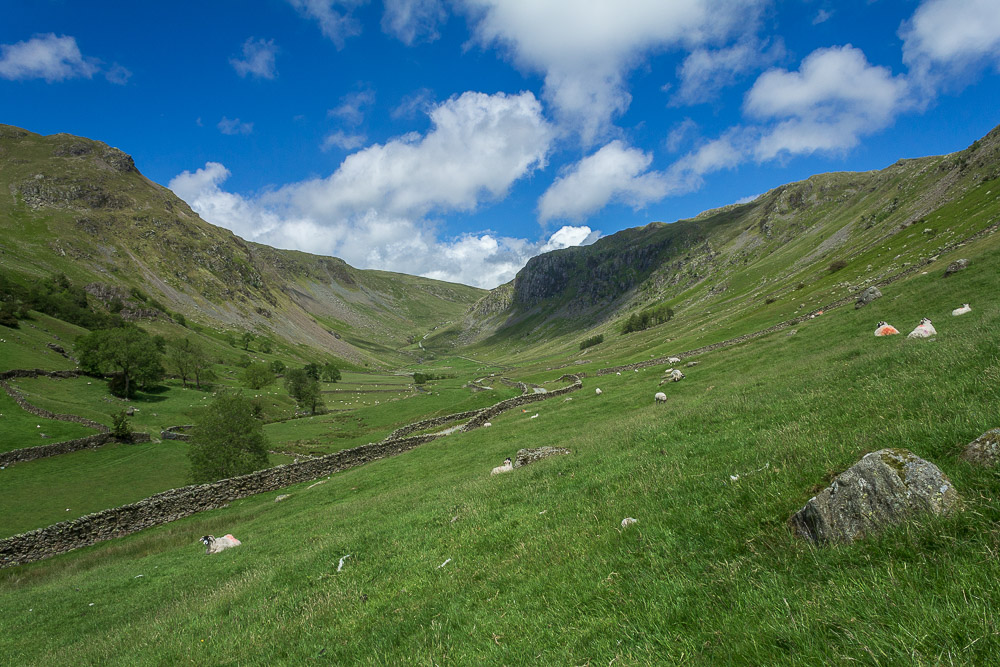
There is no easy start to this walk, the climb starts straightaway. At least the reward is you are soon enjoying the view along Longsleddale.
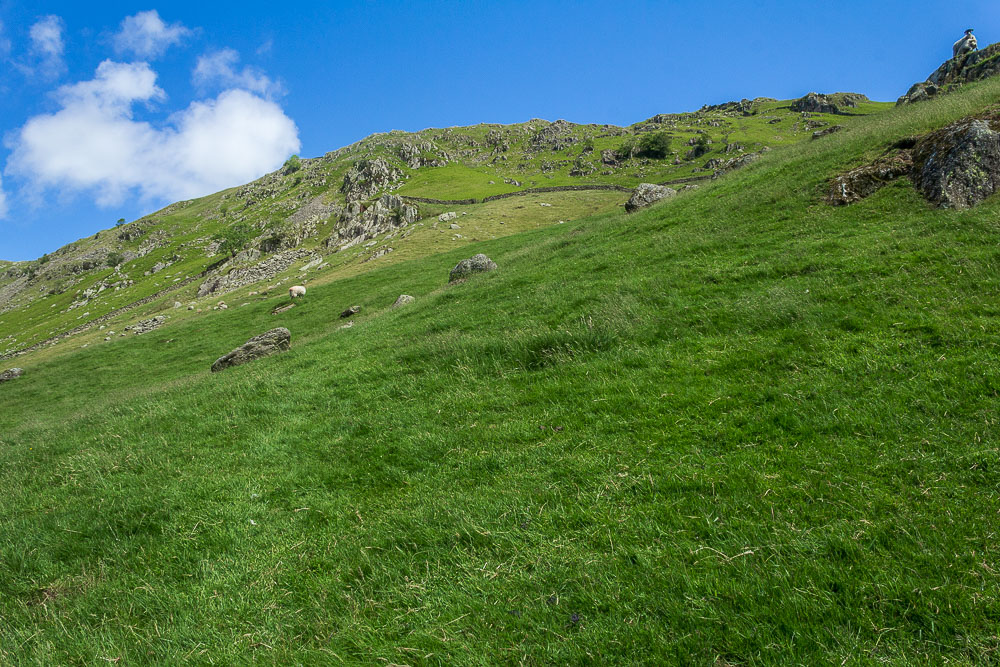
We are heading for the gap in the wall which will then in turn give us access to Easy Gully.
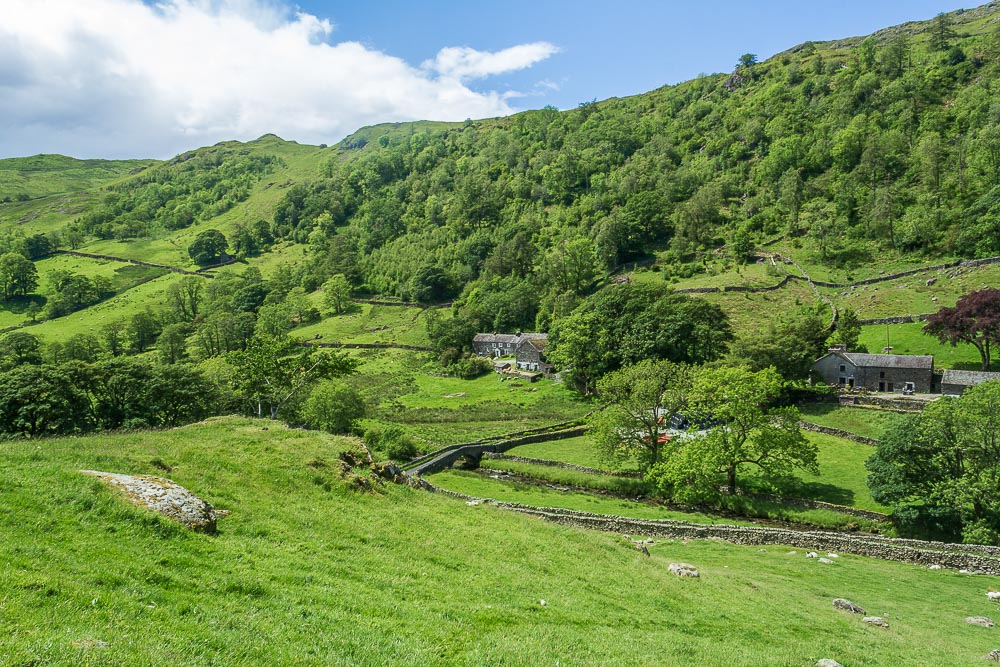
Looking across the valley to Wray Crag behind Sadgill Farm.
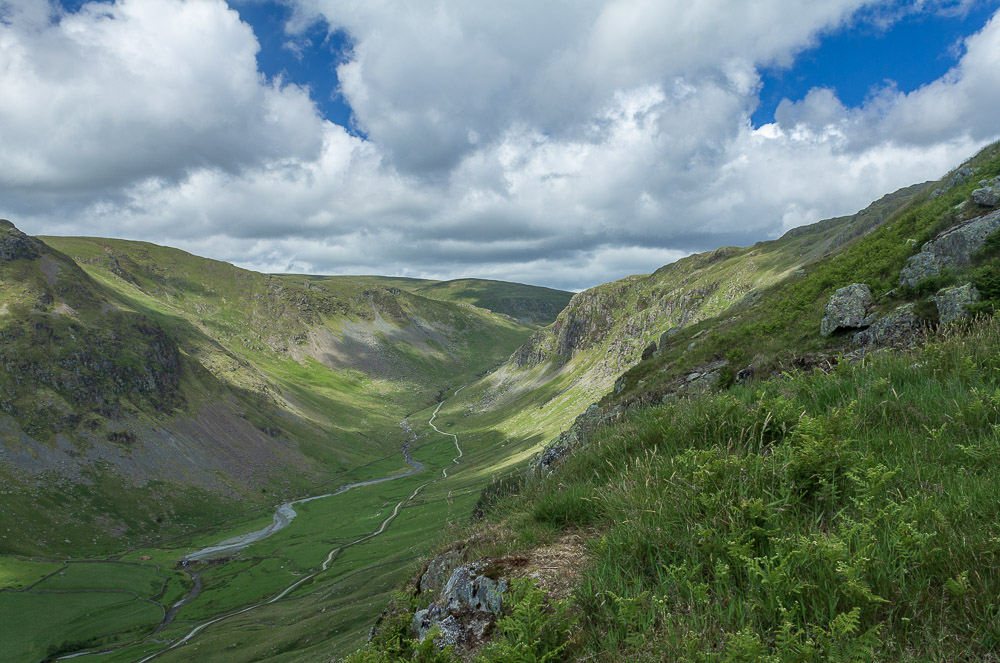
As we approach Easy Gully more fells come into view, including a distant Adam Seat.
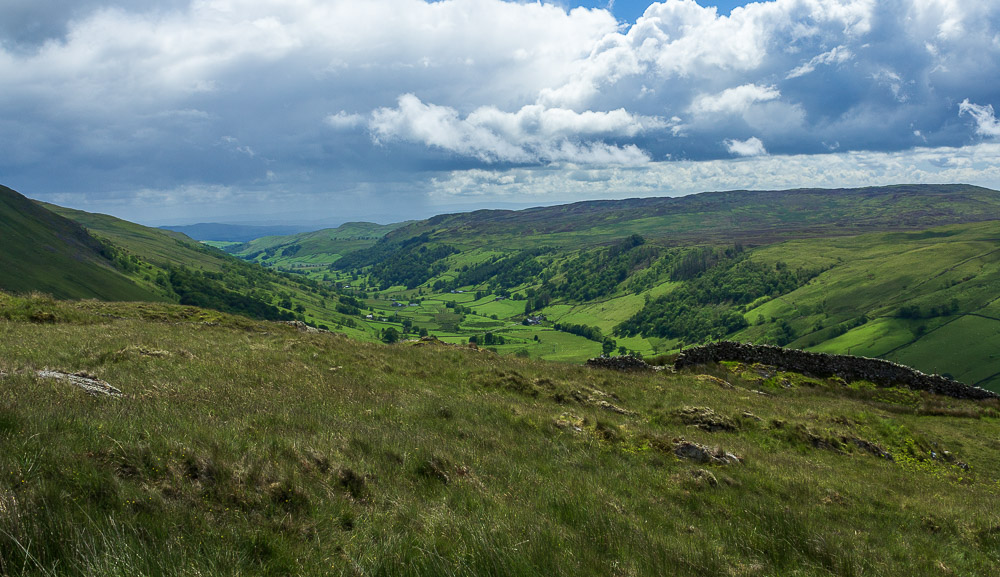
Emerging from Easy Gully we follow the clear track which will eventually takes us to a stile just below the summit of Great Howe.
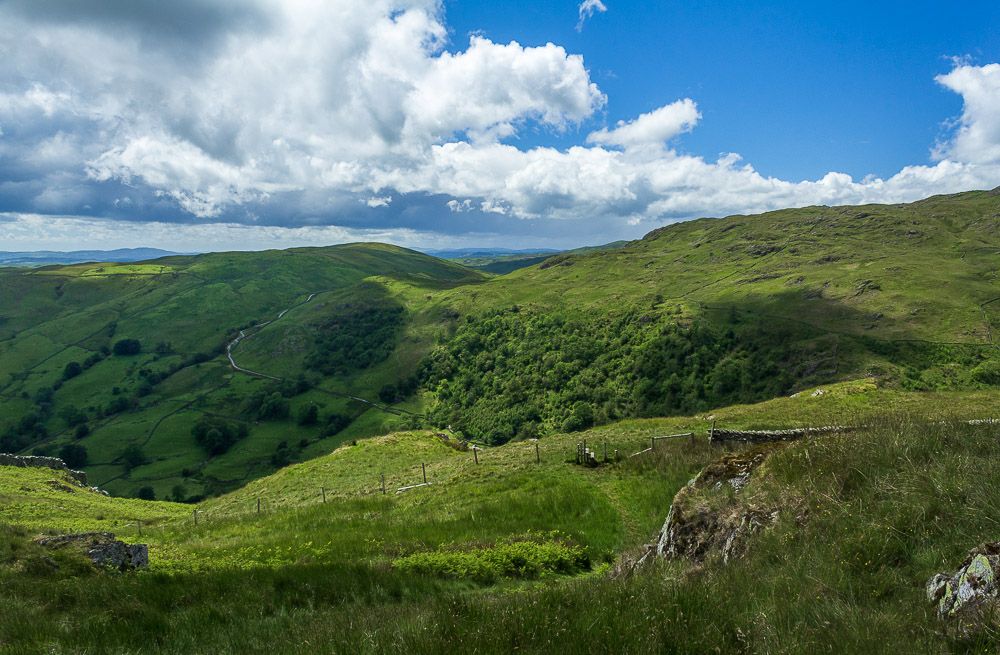
Having crossed the stile in the fence we look back across the valley to Cocklaw Fell.
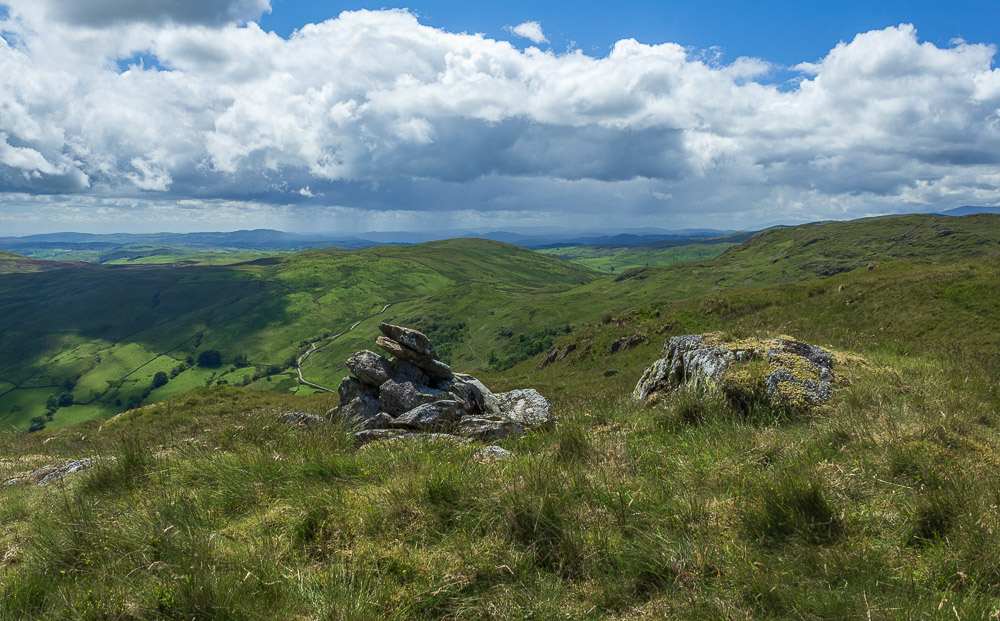
We approach the cairn that appears to mark the summit of Great Howe. Looking across Cocklaw Fell there still appears to be some rain around, lets hope it's not coming this way.
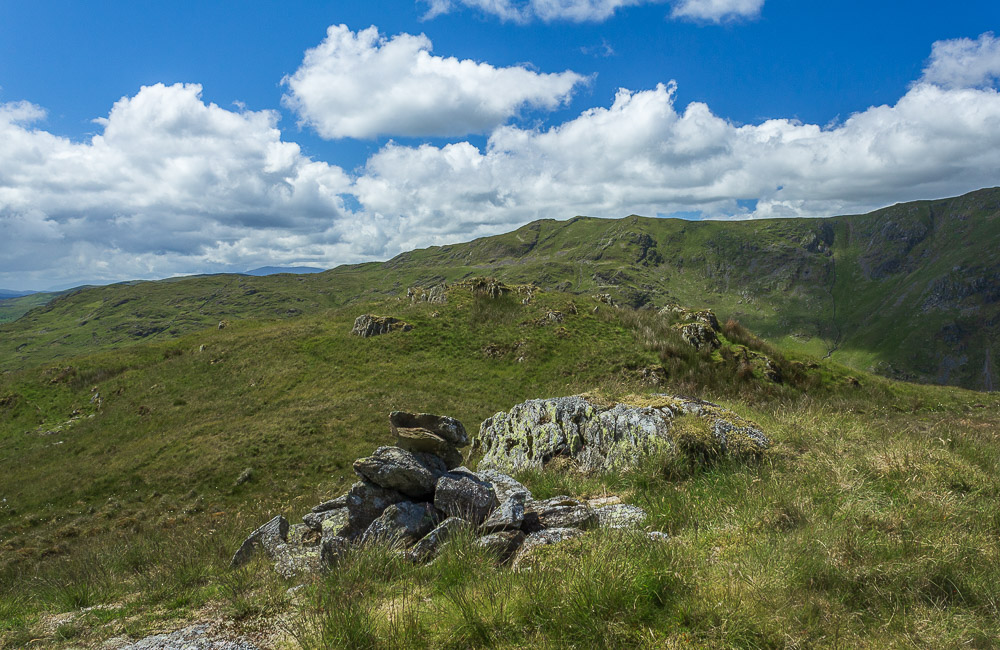
Looking across Longsleddale to Shipman Knotts. The bump in front of us appears to be higher than the one where the summit cairn is.
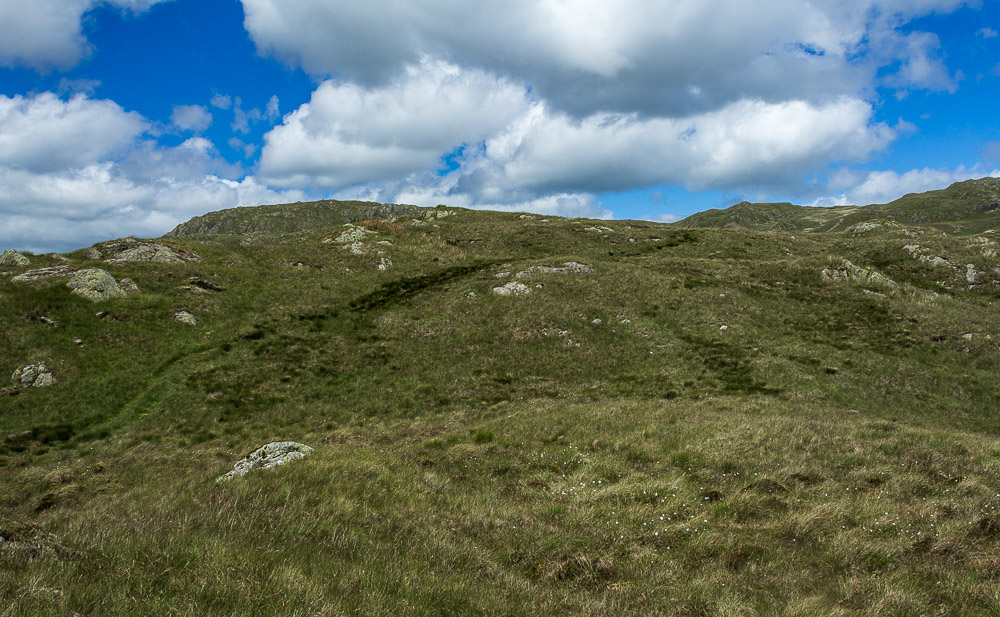
So does the one behind us. In actual fact the unmarked bump is, according to the GPS, the true summit. One of the joys of doing the Birketts can be working out which featureless bump is the summit.
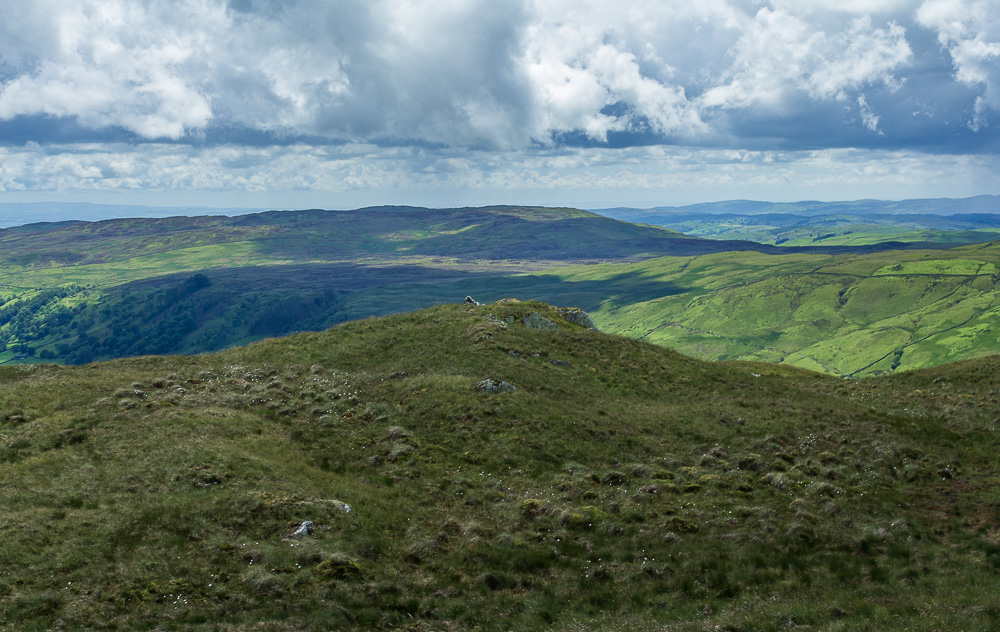
Looking back to the bump with the cairn from what Birkett and the GPS tells me is the true summit. After missing the bump that was the final summit in March, when we did the Harper Hills walk, we werent making that mistake again.
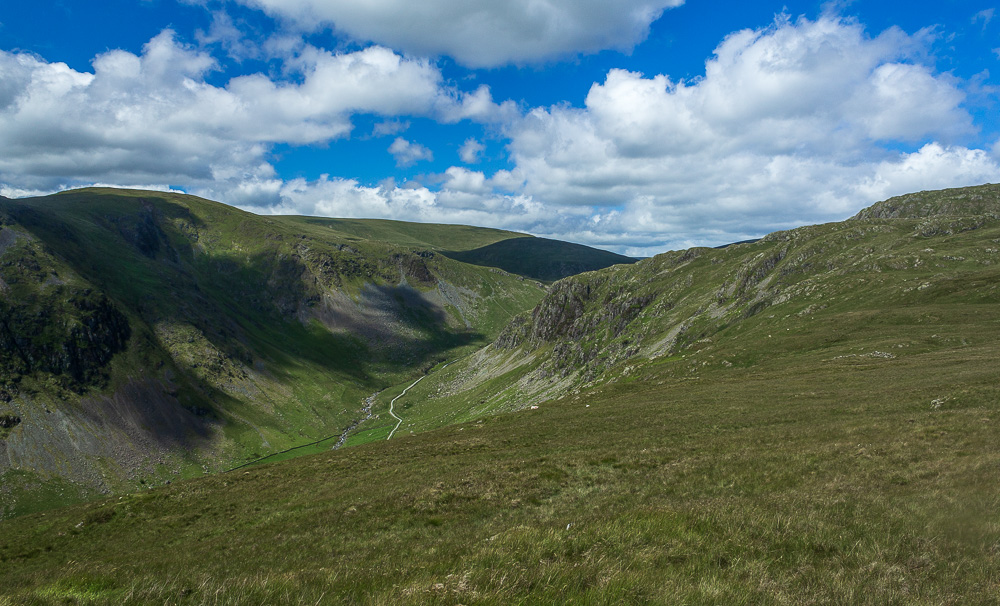
Looking across to Kentmere Pike from the summit.
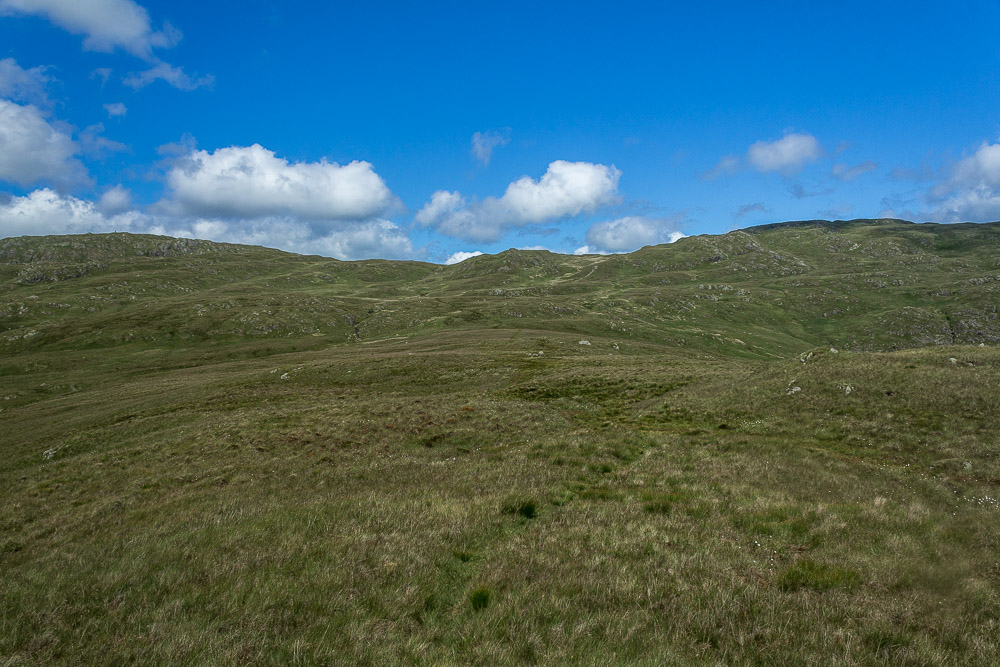
From here we will follow the clear track across the moor to Grey Crag (centre) before eventually heading left to the survey tower visible on the final summit of the day Tarn Crag.
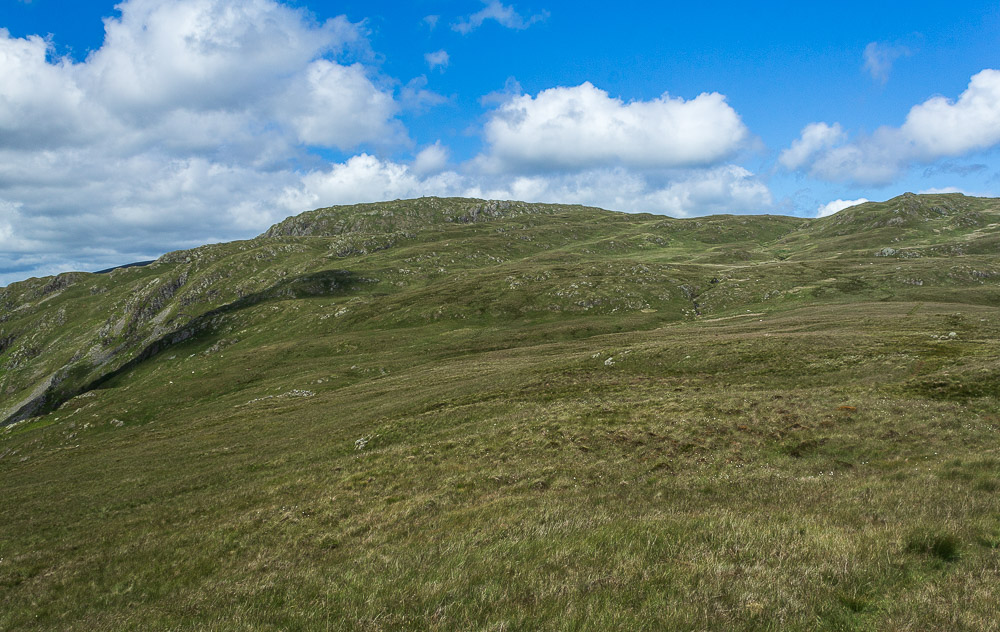
A closer look at Tarn Crag as we make our way across the moor. The recent good weather means it is a fairly dry and easy walk and we make good time.
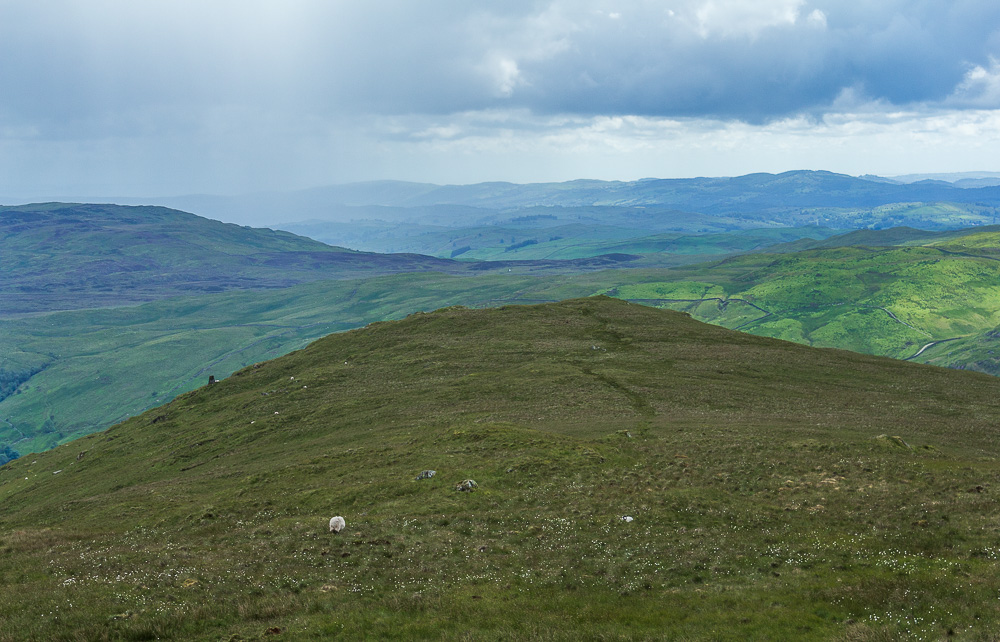
Looking back to the cairn on Great Howe I realise that I missed visiting the survey pillar below the summit, it also looks like the rain is getting closer.
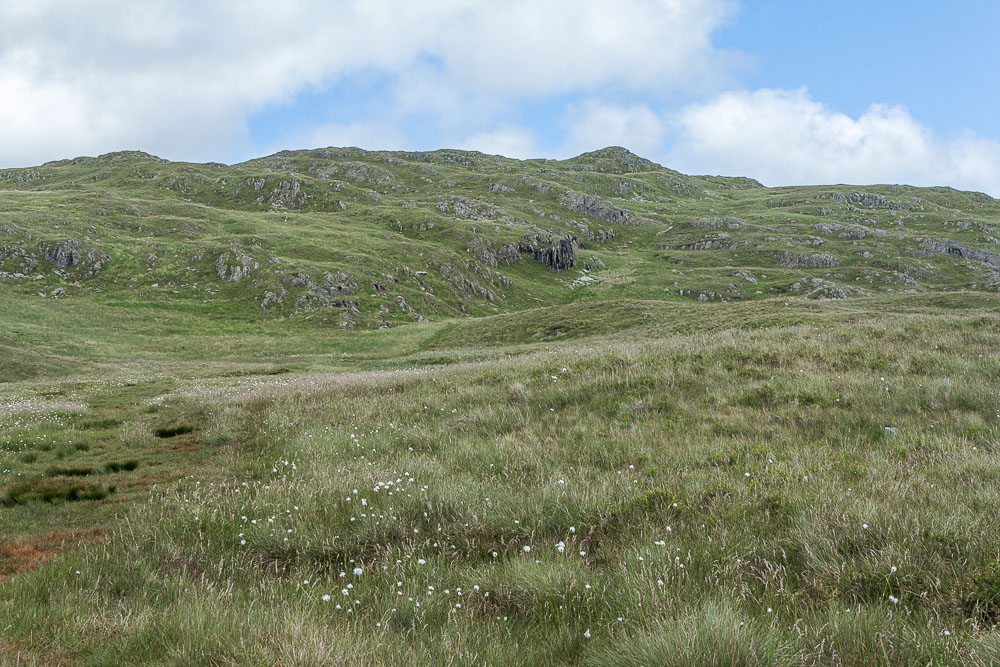
After a relatively flat section we soon find ourselves just below the summit of Grey Crag.
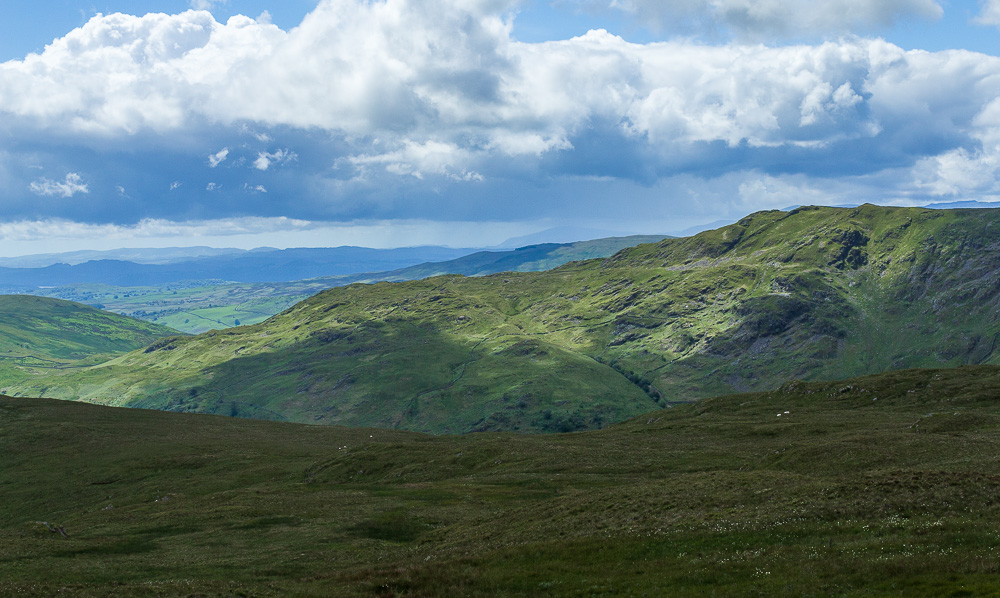
Looking back across Shipman Knotts it appears the rain shower is going to keep heading north and not across to us.
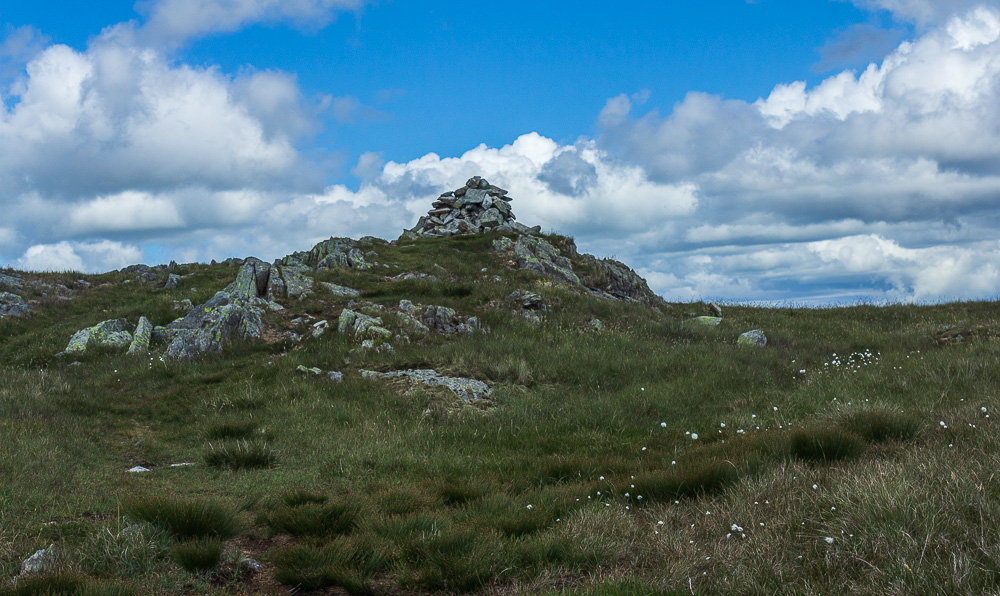
Grey Crag's summit cairn soon appears.
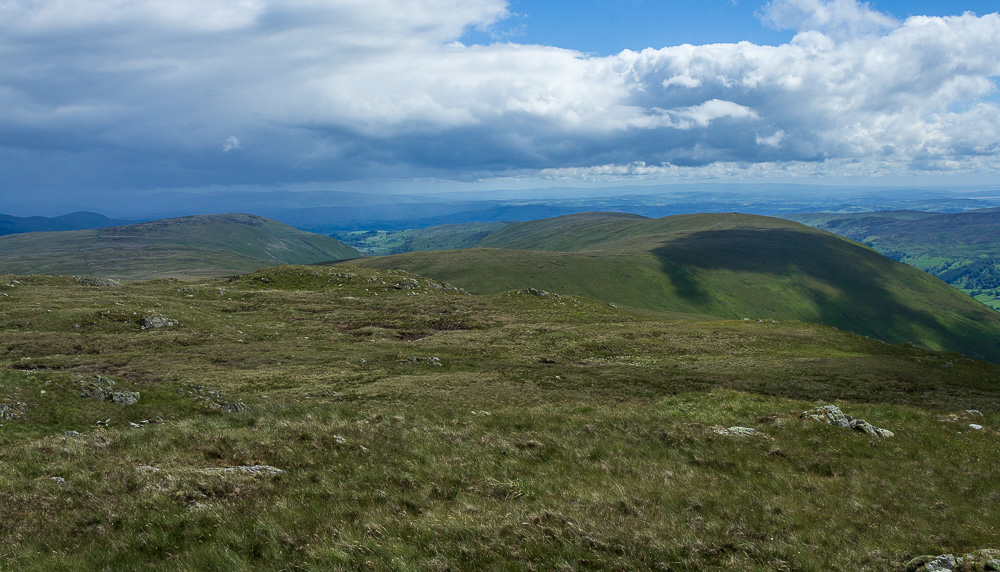
From Grey Crag we are able to take a look at Bannisdale, the one horseshoe we will have left to complete in the Shap Fells after this walk.
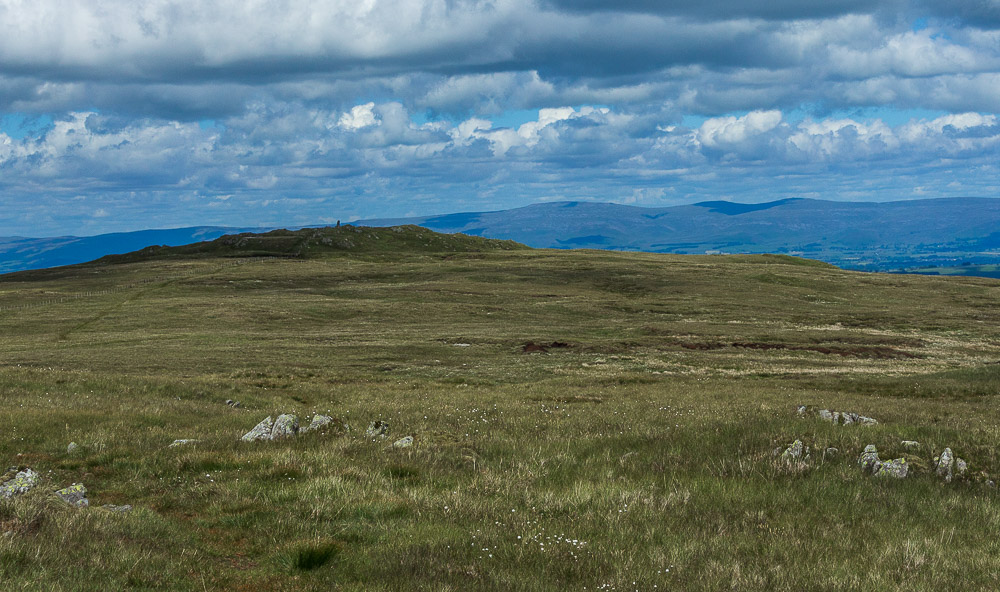
Decision time, are we doing the relatively straightforward out and back to Harrop Pike or are we having lunch.
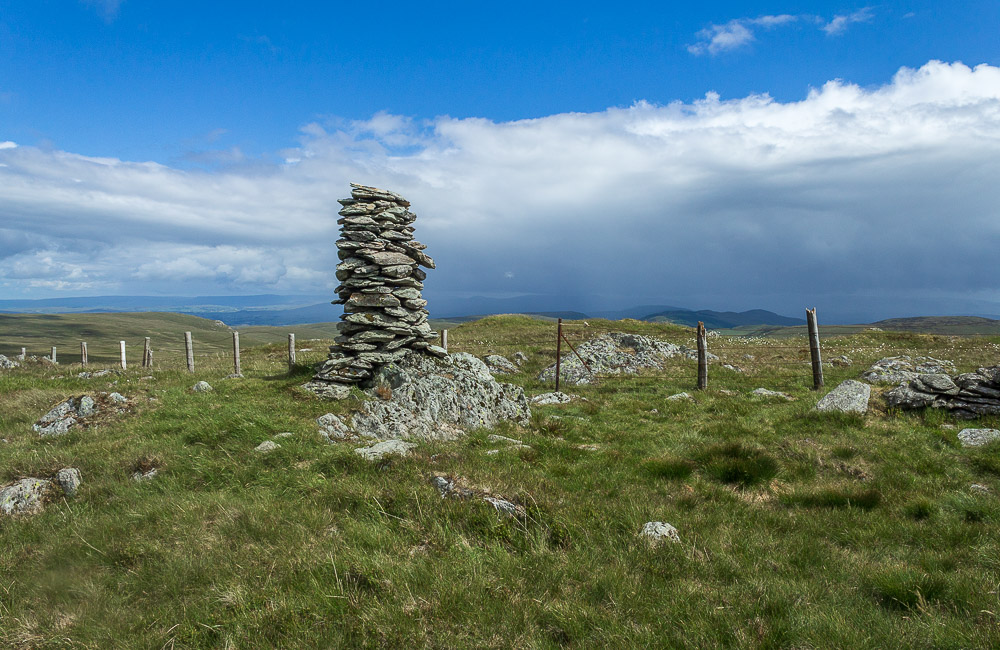
We opt for the out and back to Harrop Pike and have lunch in the sun close to Harrop Pike's summit cairn.
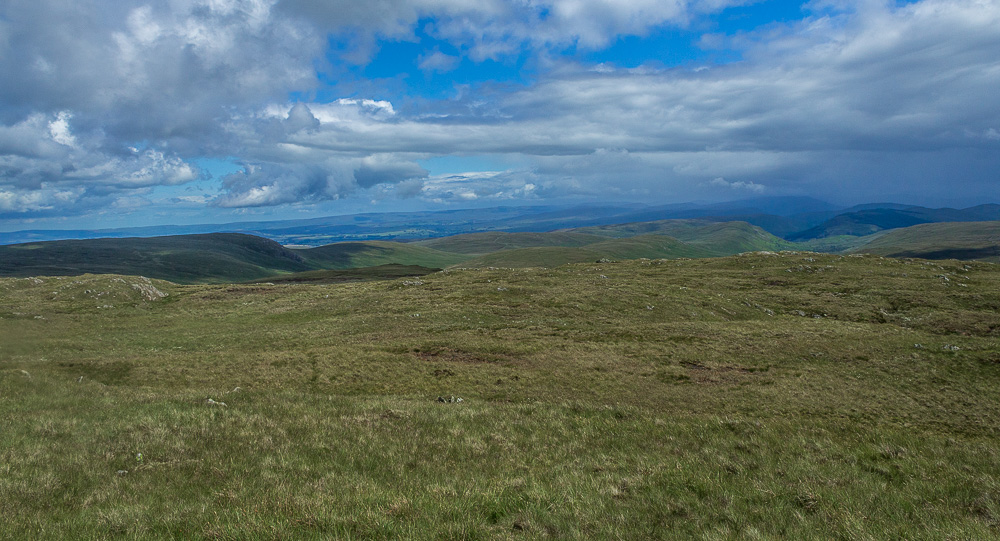
Our lunchtime view includes both Borrowdale and Crookdale.
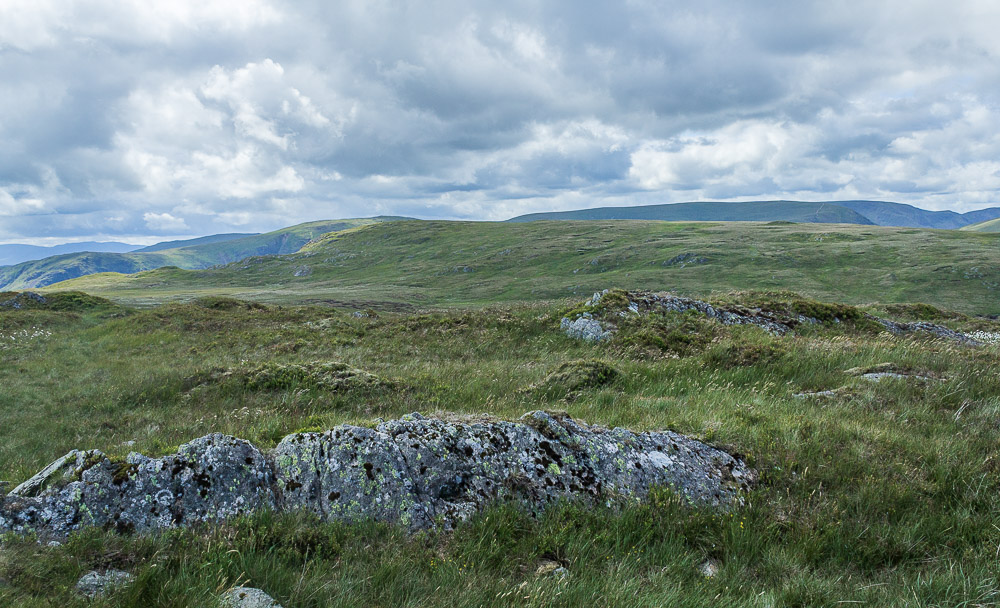
Whilst it might have been sunny looking out towards the Pennines when we stood up to leave it was obvious the clouds had been gathering behind us.
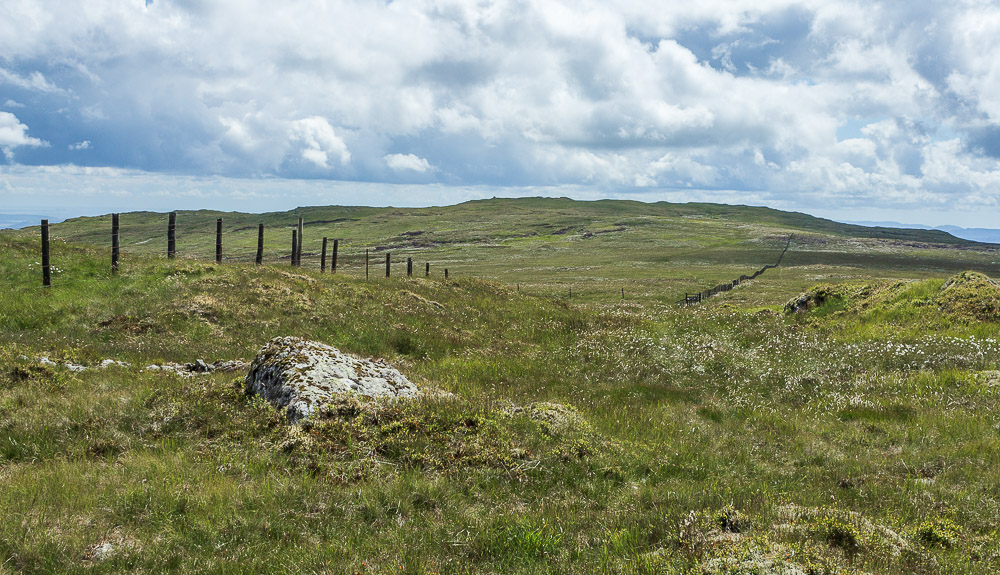
Time to follow the fence back towards Grey Crag.
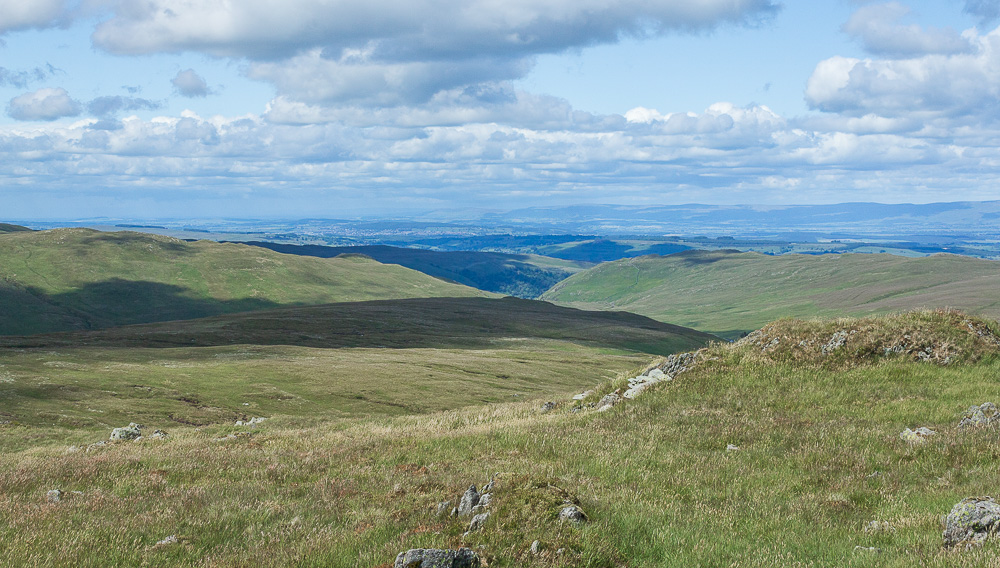
A final look towards the Pennines.
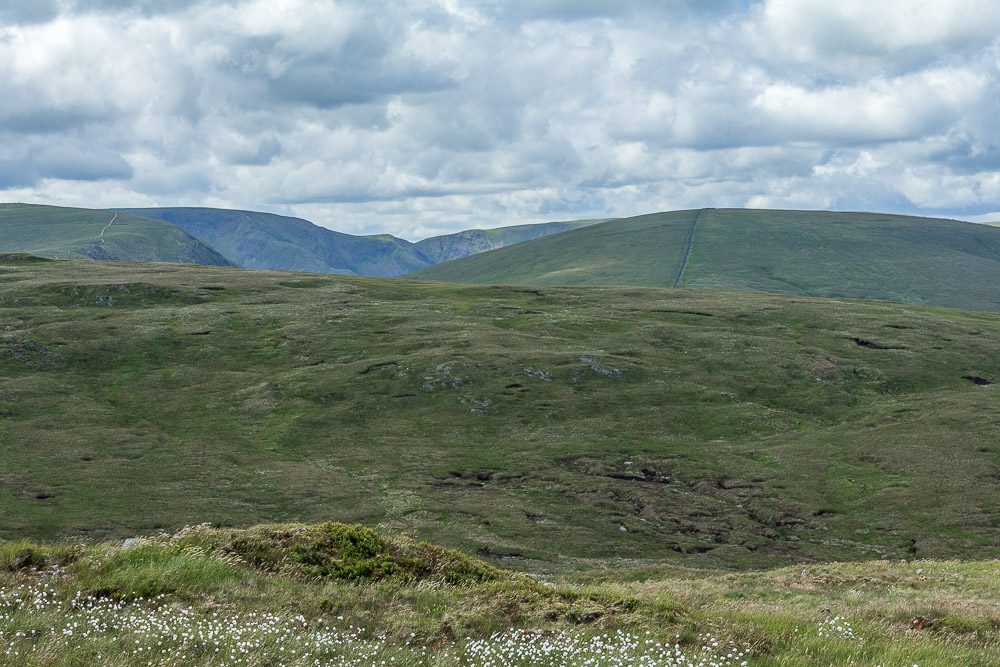
As we reach the corner of the fence and turn to drop down to Greycrag Tarn we are rewarded with a view across to Branstree.
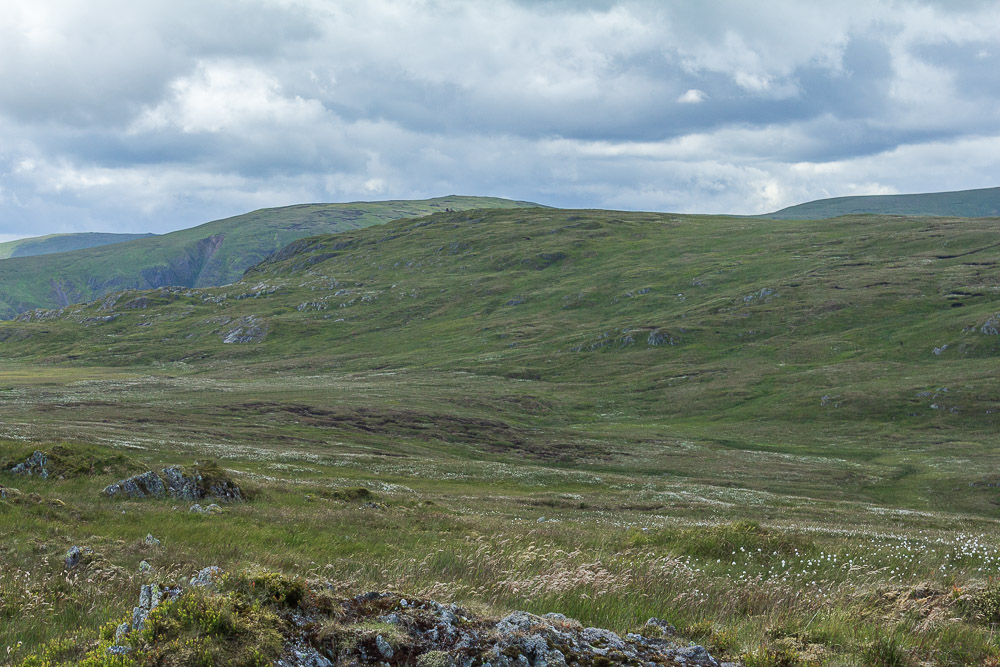
The final summit of the day is also visible, looks like we might be doing some bog-hopping before we get there.
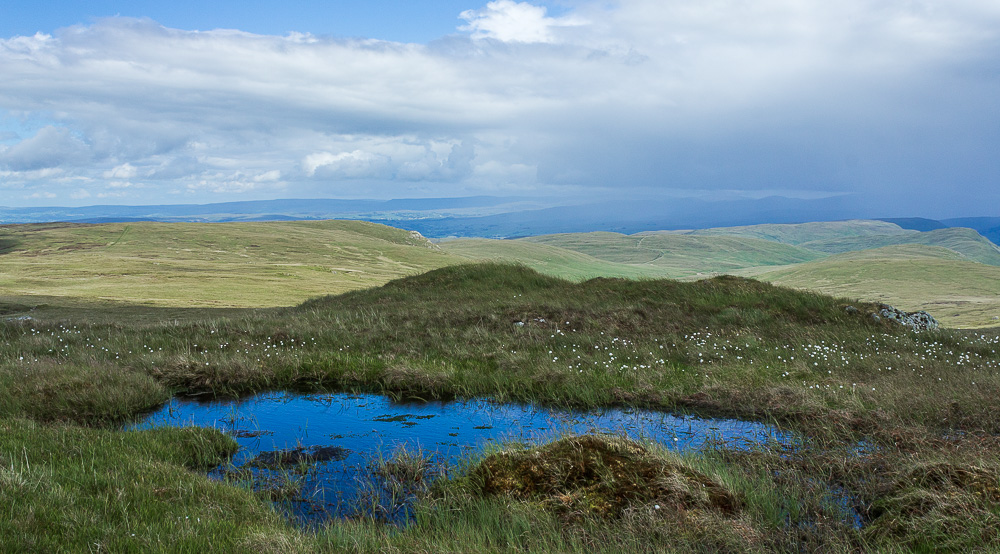
Looking towards Great Yarlside it looks like a shower might be reaching us soon.
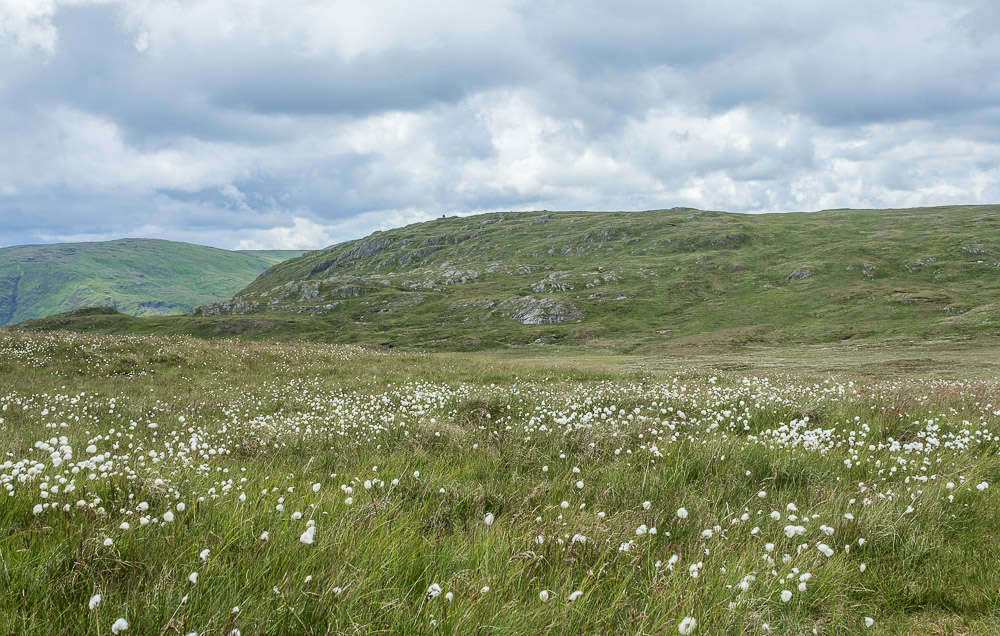
As we reach the bottom of the hollow, with relatively little bog-hopping involved and no sign of Greycrag Tarn, we look across to Tarn Crag.
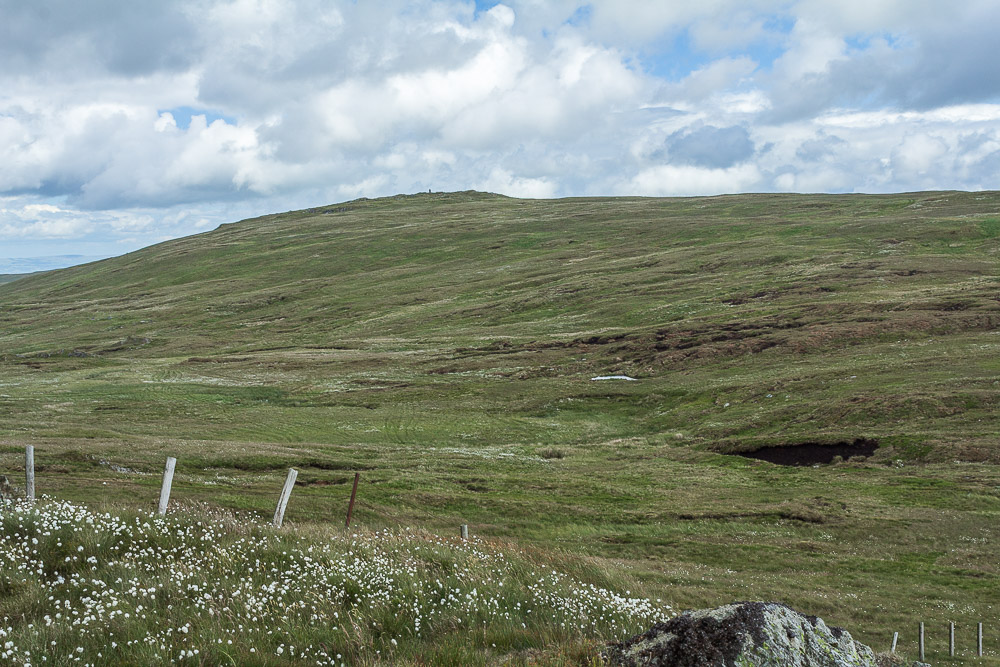
Looking back to Harrop Pike as we start to ascend Tarn Crag.
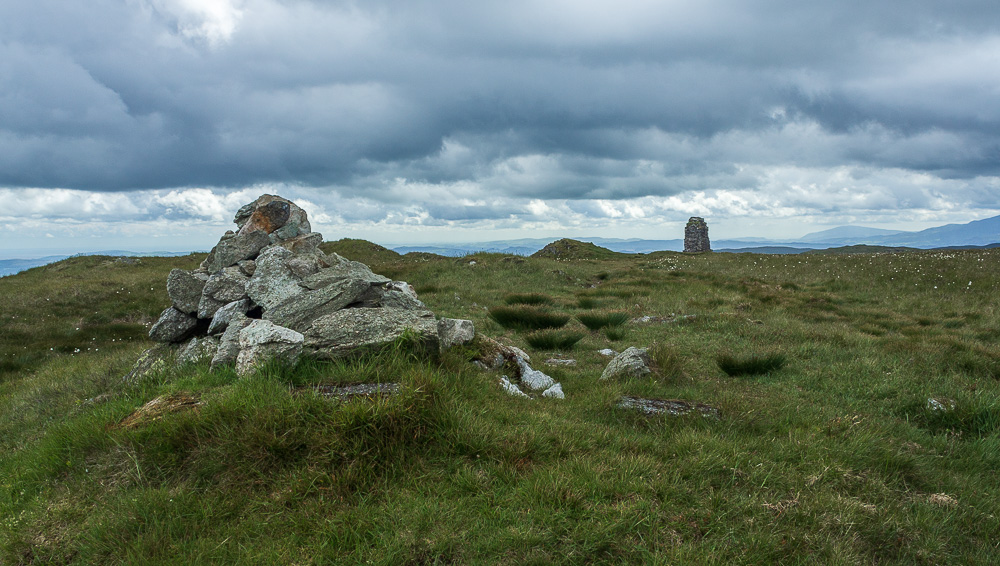
We reach Tarn Crag's summit cairn just as the rain reaches us.
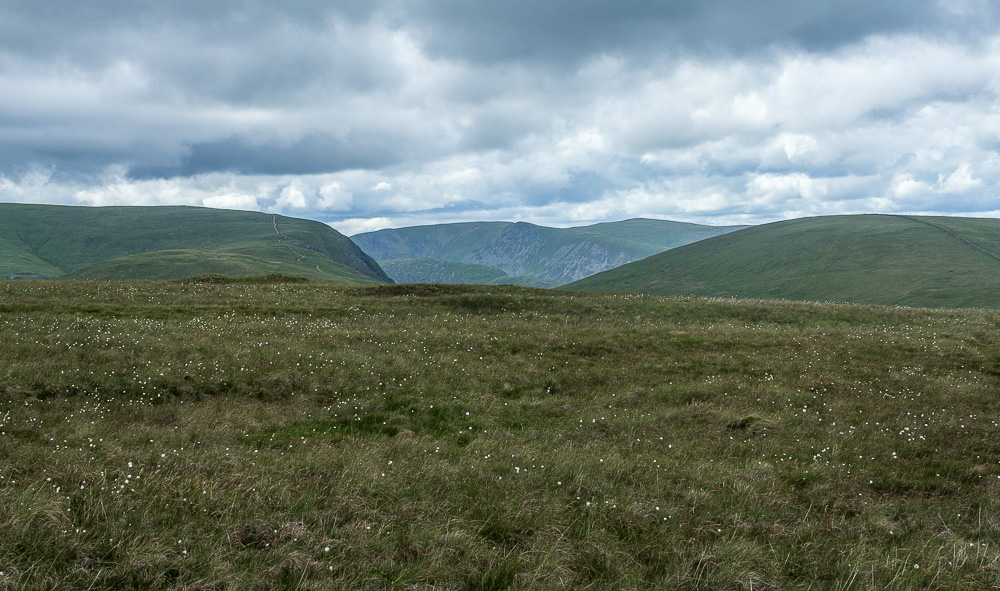
From the summit the view now includes High Raise behind Kidsty Pike.
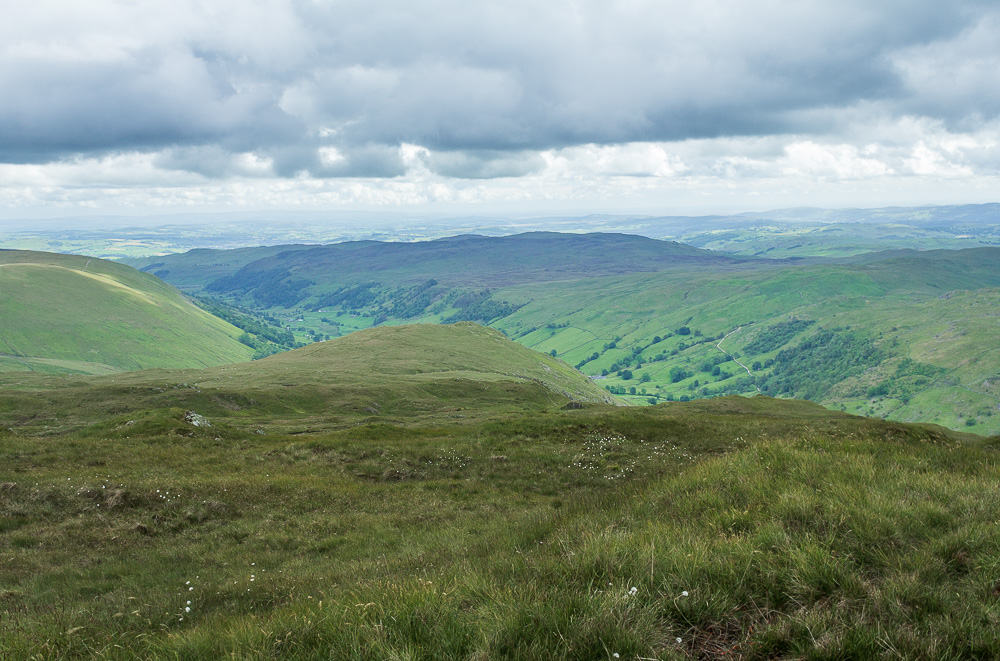
Great Howe from Tarn Crag's summit.
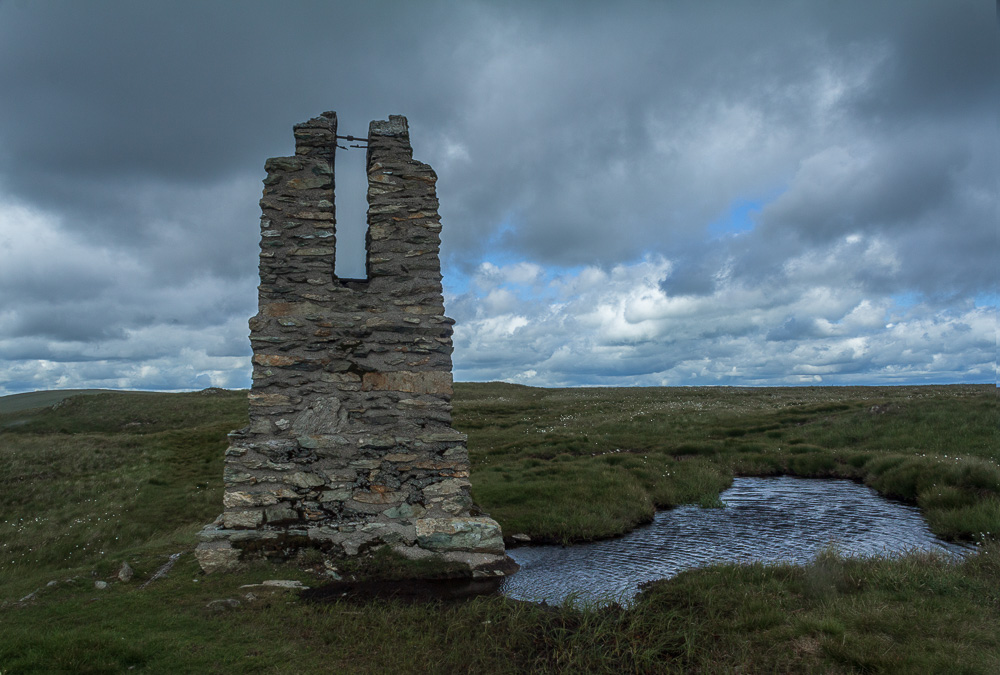
Despite the rain we opt to head across to the survey tower, it wasn't exactly far.
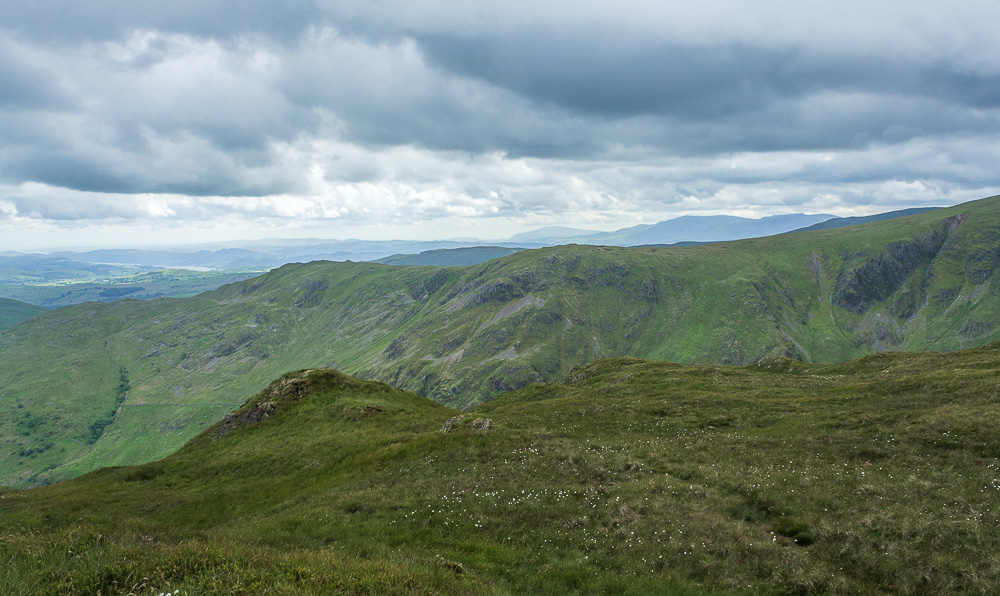
Looking across to Shipman Knotts from the survey tower.
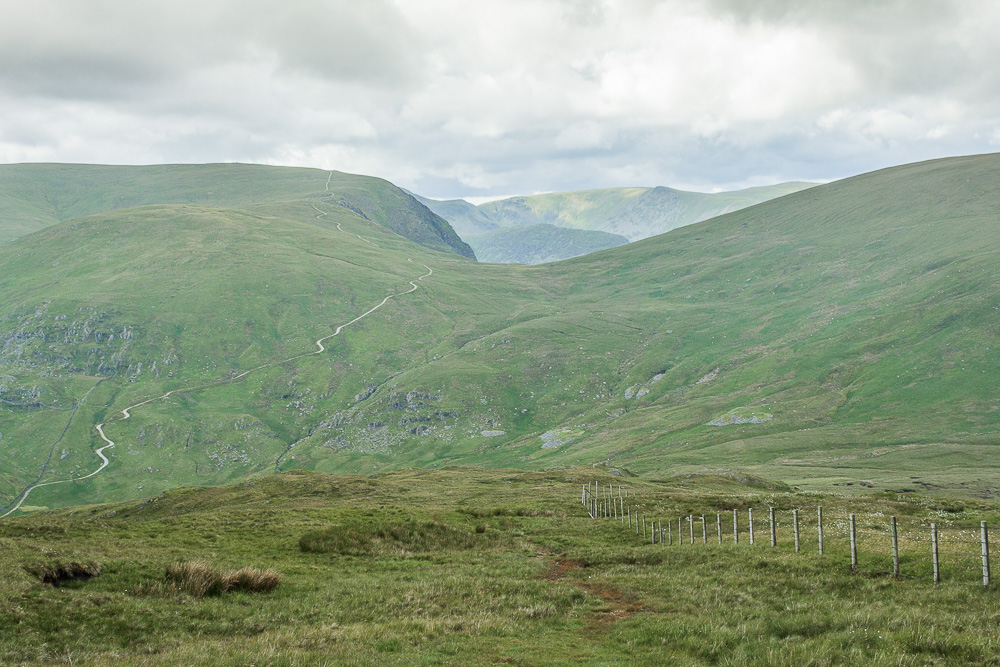
As we start to drop off Tarn Crag we have a clear view of the track we will be joining.
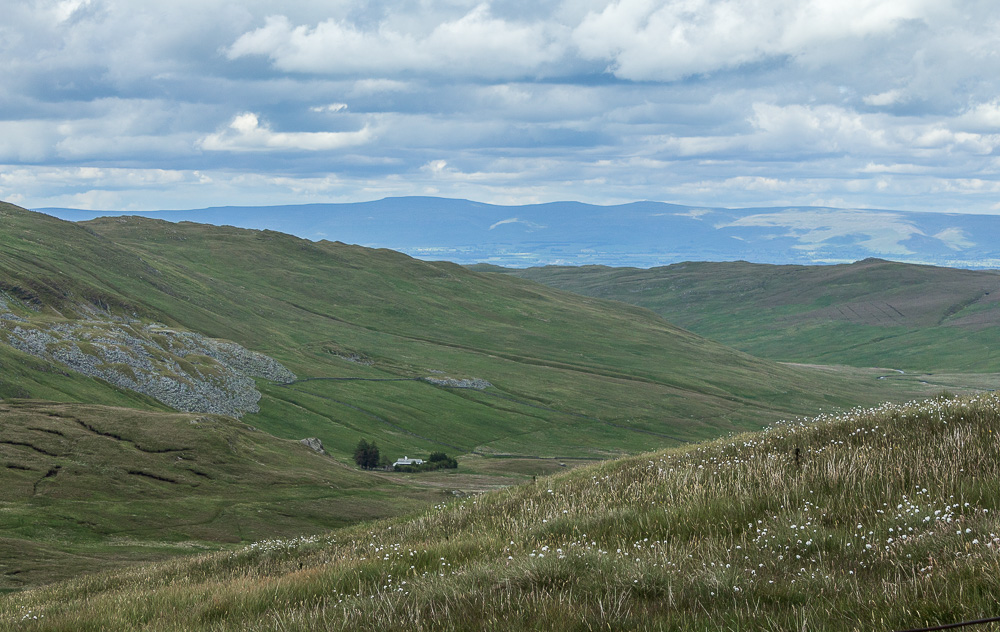
As we descend Mosedale Cottage comes into view.
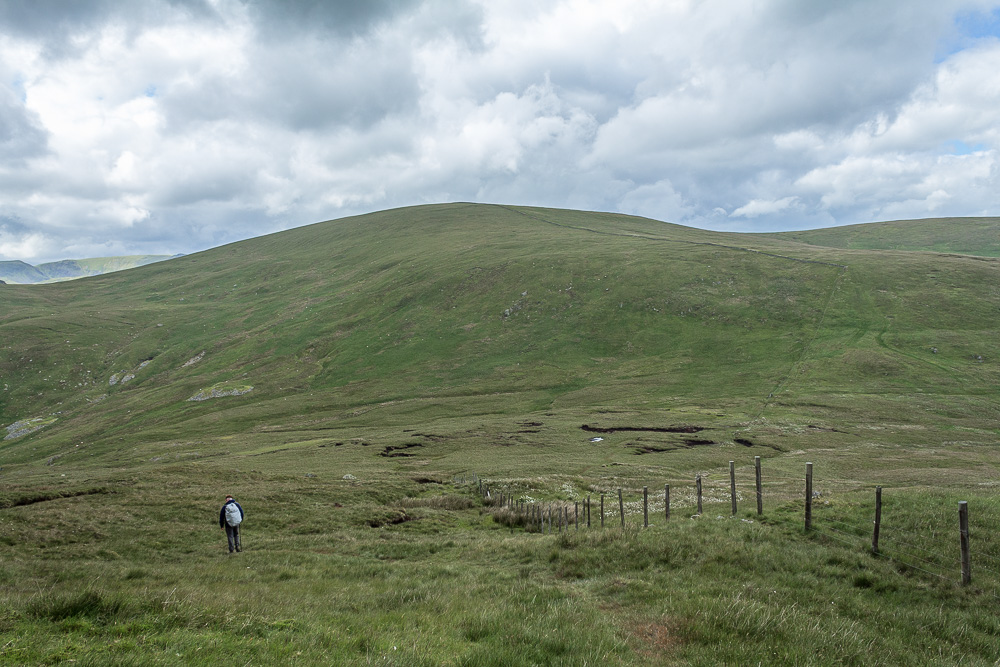
The further we descend the more the bog-hopping increases.
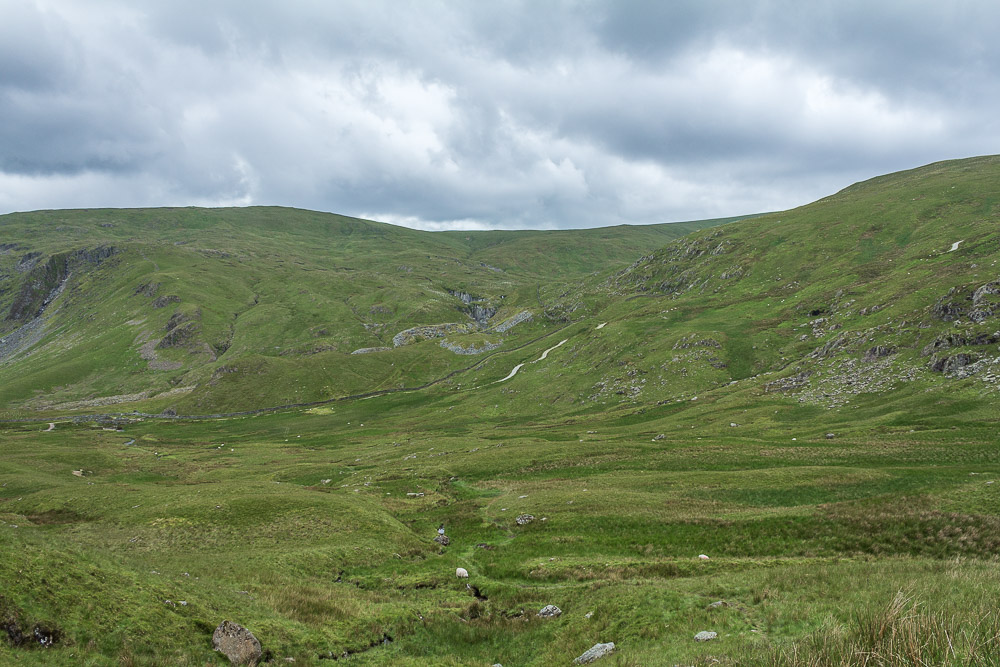
Wrengill Qarry and Brownhowe Bottom soon come into view.
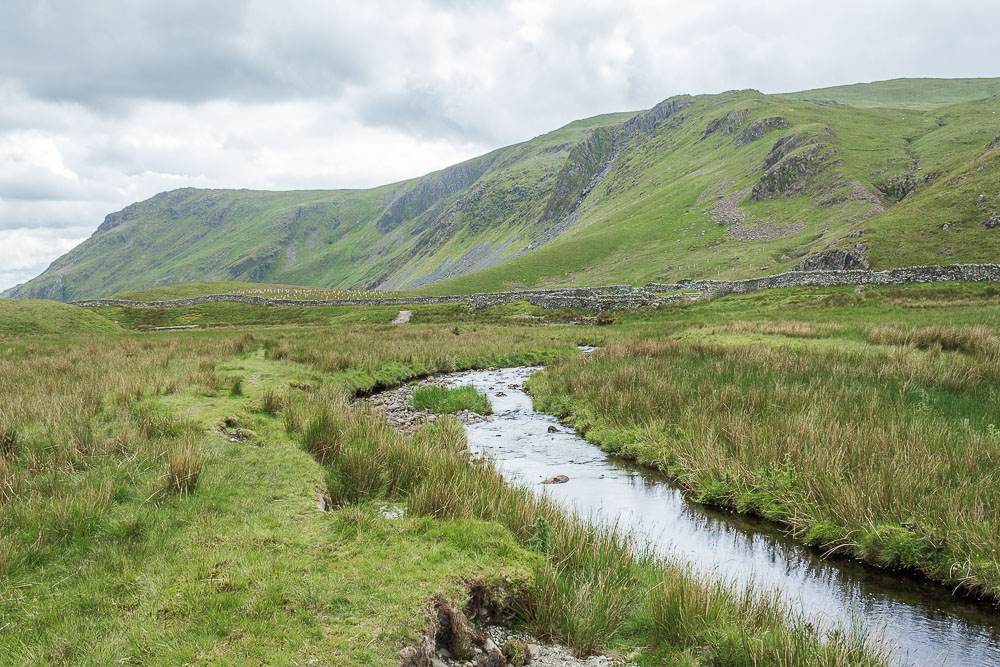
The worst of the bog-hopping was reserved for Brownhowe Bottom.
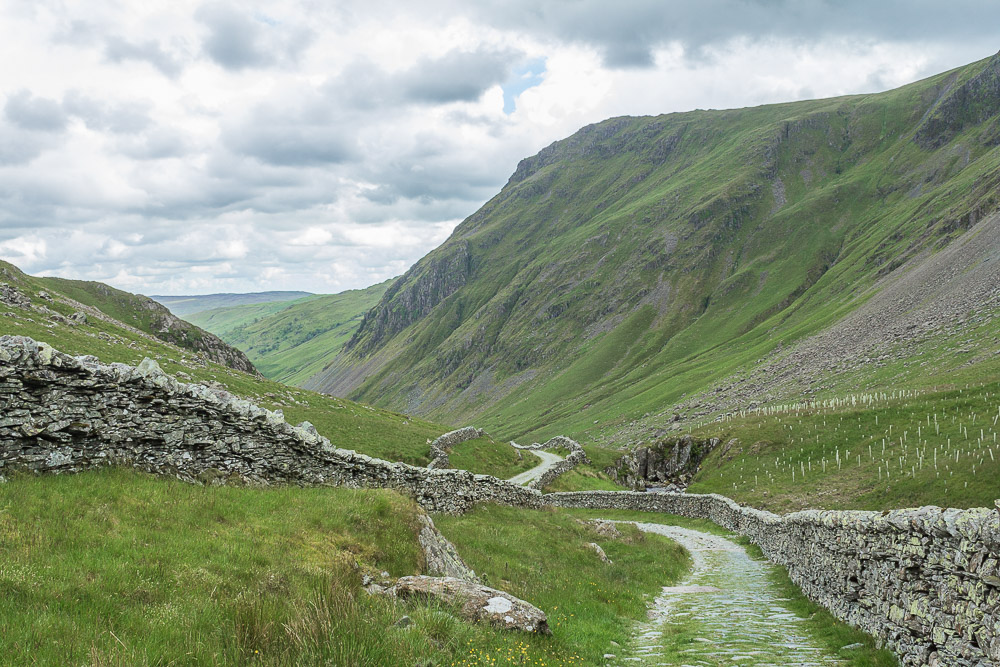
Turning right we start to pass under Brown Crags as we head down into Longsleddale.
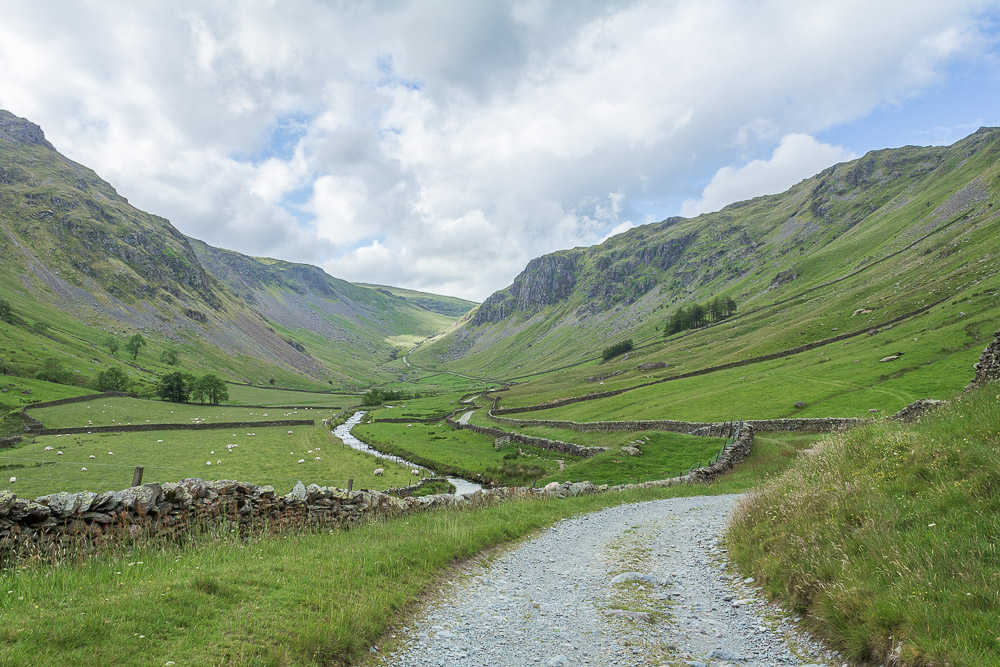
All that remains now is to follow the track back down Longsleddale to Sadgill.
All pictures copyright © Peak Walker 2006-2023